Self-Entering Data
Add your building.
First things first, click the Add Property + button on the right.
Add your utility meters.
Once you’ve created the property, you can begin adding utility meters. Our Dashboard will make a guess as to your utility company for each energy type based on your location. If you have more than one meter on a utility account, enter them separately.
You’ll need your utility company, energy type, measurement units, account number, and meter number. These should all be located on your utility bills.
Add your bills.
Once your meter has been added, you can start adding utility bill data by clicking Manage.
If you prefer to enter bill data manually, or aren’t interested in entering historical data, begin entering your data by pressing New Bill.
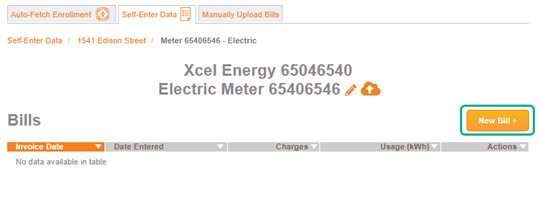
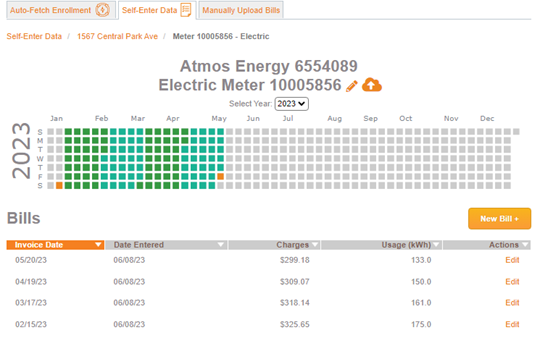
If you are entering multiple bills, begin with the earliest date, as the Dashboard will automatically fill in usage dates based on the prior bill. You’ll need the invoice date, the usage dates covered on that bill, the total charges on the bill, and total usage (and demand for electric bills). You can attach a PDF copy of the bill, and we will store your documents indefinitely.
Under each meter, you’ll now be able to see each of your bills listed, as well as being able to see visually which usage dates you’ve entered bill data for.
Track, analyze, and compare your data.
Once you have a few months of data, you can begin to track your usage and cost trends on the Properties tab. You can also compare your buildings to each other.
If at any time, you’d like to upgrade your plan to Self-Entered Premium or Auto-Fetch services, you can do so by contacting us.
Reduce Your Energy Footprint
Take control of your energy use and make smarter, more sustainable decisions. From improved efficiency to long-term savings, EnergyPrint helps you reduce your energy footprint without sacrificing performance. Let’s work together to create a more efficient future.